7 seconds. That is the average length of time that most recruiters spend looking at resumes. In other words, that’s how long you have to make an incredible first impression. If you don’t grab their attention, your resume will likely be tossed in the “maybe” pile.
To avoid this, consider learning how to write a resume from scratch. This way, you’ll be able to communicate your skills and qualifications efficiently. More importantly, you’ll learn the dos and don’ts of writing different sections in a cover letter.
Finding the right resume writing tutorial isn’t easy. Nearly every site you browse has its own resume builder featuring an entirely different format and structure. To make your work easy, I’ve done the legwork of research and created a step-by-step guide for writing a resume. Let’s dig in:
Step-by-Step Guide to Resume Writing
Table of Contents
- 1 Step-by-Step Guide to Resume Writing
- 2 Step 1: Prepare
- 3 Step 2: Pick a Resume Format
- 4 Step 3: Add an Eye-Catching Resume Headline
- 5 Step 4: Add Your Contact Information
- 6 Step 5: Add A Resume Profile Summary or Resume Objective Statement
- 7 Step 6: Add Your Work History
- 8 Step 7: Add a Skills Section
- 9 Step 8: Add the Resume Education Section
- 10 Step 9: Include Relevant Certifications & Licenses
- 11 Step 10: Add Optional Resume Sections and Proofread
- 12 Extra Information
- 13 Resume Templates
- 14 Cover Letters
- 15 Are Resume Writing Services Worth the Cost?
- 16 What do I Need to Put in my Resume?
- 17 Final Thoughts on How to Write a Resume
Step 1: Prepare
One area where job applicants go wrong when writing resumes is failing to prepare. But, this is a crucial step that shouldn’t be ignored.
Preparation in this case means doing intensive research about the information you’ll provide. Simply put; it’s about getting your facts right so you can provide accurate information in the CV. So by the end of the research, you should jot down your:
- Greatest achievements from past jobs
- Employment history – names of previous employers, dates of hire, job title and duties
- Education background – this includes your university degree, certifications and/or licenses
- Hard and soft skills you’ve acquired over time
- Volunteer work
- Special awards
Step 2: Pick a Resume Format
Most job seekers are only familiar with the chronological type of resume. However, it’s not the only one. We also have functional and hybrid resumes.
The right resume format depends primarily on your level of experience and professional objectives. To help you choose wisely, here’s a detailed breakdown of each:
Chronological resume
This format requires the applicant to highlight their work history first. Specifically, you should indicate your most recent job and position, then work your way backwards.
The main advantage offered by this format is that it draws the attention of the hiring manager to your work experience. Since it’s located front and center, it’s one of the first things the HR department will see.
However, this also means that you should have several years of experience under your belt. If you don’t, you should consider alternative resume formats. I’d recommend using the chronological format if:
- You’ve had a consistent career path; meaning there are no gaps in your employment history
- You’re applying to a position that places emphasis on experience
Functional resume
While a chronological resume emphasizes work experience, a functional one is meant to emphasize skills. It gives you a splendid opportunity to showcase your best skills and any training you’ve acquired in the past.
What I like about this format is that it helps you downplay your lack of work experience in a given sector. Highlighting your hard and soft skills proves to the hiring managers that you bring a lot to the table despite lacking experience.
That said, this layout doesn’t work for everyone. The job recruiter may feel like you’re trying to hide something. For this reason, I’d recommend using a functional resume format only if:
- You graduated recently
- You’re an entry-level job seeker
- You’re changing careers to a different field/ industry
- You have a couple of employment gaps
Hybrid resume
Also known as a combination resume, this format blends features of the chronological and functional formats into one. The layout typically begins with a concise overview of your skills and achievements. This section is followed by the reverse chronological order of your job history. The combination resume format is best for:
- Mid-level job seekers
- Job applicants who are reentering the workforce
- Those switching careers need to showcase transferable skills
Step 3: Add an Eye-Catching Resume Headline
Truthfully speaking, a resume headline isn’t mandatory. However, if you want your resume to stand out amongst a pile of others, then an eye-catching headline is a must.
Much like the headline of an article or the subject line in an email, this is what the hiring manager is drawn to first. This means it’s an opportunity for you to make a first good impression.
As such, devoting time to finding that catchy one-liner is worth it. If the recruiter likes it, they’ll likely be interested in reviewing the rest of the resume’s content. An added bonus is that resume headlines help you bypass applicant tracking systems.
An applicant tracking system or ATS, in short, is software that scans resumes for relevant keywords, experiences and format.
It narrows down the list of applications to the best matches. This then simplifies the hiring process as hiring managers only have to interview the most suitable candidates.
Research shows that a whopping 75% of qualified job applicants get rejected by ATS. Having a strong resume headline helps, though, as the software recognizes your professional title instantly. Essentially, it proves that you’re a suitable candidate for the position.
How to Write a Resume Headline
Now that you know the importance of a resume headline, here are some pointers to help you write one:
- It should be brief and concise – a resume headline should be short and to the point. It’s a summarized sentence showcasing your professional experience. As such, it shouldn’t be longer than one sentence. Otherwise, it will seem like the resume summary or objective; which it’s not.
- Position it correctly – this headline should appear just below your name and surname. It introduces the recruiter to the remaining content in your resume.
- Use a title case and a slightly bigger font – this will help it stand out. However, don’t go for something too flashy.
- Incorporate action verbs and power words
- Only mention 1 to 2 skills or achievements – you’ll still include a skills section in the resume. So you don’t need to list everything here.
- Customize the headline for each job description – the headline should be customized for the specific job/position you’re applying for.
Examples of Resume Headlines
Here are a couple of ideas to inspire you:
- Marketing administrator that helped generate $1000+ in revenue
- A legal expert with 2+ years of experience as a paralegal
- A philosophy graduate with internship experience as an art curator
- Senior accountant with a background in economics and statistic
For a more in-depth breakdown of how to write resume headlines check out my article: The Ultimate Guide for Writing Resume Headline Examples.
Step 4: Add Your Contact Information
Once you’ve figured out which resume format you’ll go with, the next thing you’ll want to tackle is the resume content.
The first piece of information you should provide is your contact details. And while this seems very straightforward, it’s an integral part of your resume.
You may create a very impressive resume. But, it’s no good if a hiring manager can’t reach you. So double-check or even triple-check this part to ensure you haven’t omitted or misspelled anything. The main details you’ll want to provide here are:
- Full name – use initials for the middle name (if you have one)
- Cell Phone number
- Email address
- Location (City, State and Zip Code)
Optional details
- LinkedIn URL – only provide your LinkedIn profile if it’s up to date and detailed so it can add value to your resume
- Relevant social media – this depends on the niche you’re in. For instance, an applicant applying for a writing position can provide a link to their blog. Similarly, aspiring designers can showcase their work by providing their Behance account.
- Professional title – this can be your current position or one that you’re aspiring for.
Dos and Don’ts of Writing Contact Information
- Always include your full name so hiring managers have an easier time finding you online
- While you don’t have to state your full address, it’s good to highlight your city, state and zip code
- Use your personal number not your work phone number
- Provide just one phone number and email address
- You don’t have to include your date of birth
Step 5: Add A Resume Profile Summary or Resume Objective Statement
In this next section, you’ll have to decide whether to include a profile summary or resume objective statement.
Contrary to popular belief, these two things aren’t the same. And, it’s important to familiarize yourself with their differences before you start to write a resume. This way, you’ll know which of the two to use and the details to include in each one.
The profile summary is also known as a career summary. This section is meant to give the recruiter a quick synopsis of your professional experience and skills. It highlights the strengths that make you suitable for the specific job you’re targeting.
A resume summary allows you to demonstrate the experience you’ve gained from previous jobs. This makes it fit for individuals looking for positions similar to the ones they already hold but in a different firm or niche.
Resume summaries work particularly well for job seekers using a professional resume. If you decide to include one, remember to incorporate keywords derived from the job description. Here’s an example:
“Strategic digital marketer with five years of experience across a wide range of industries and expertise in Social Media Management, Content Creation, and Email Marketing. Blends strong industry knowledge with well-developed marketing tech to attract, qualify and nurture leads as well as improve brand recognition”
An objective statement, on the other hand, explains your intent. Usually one to two sentences long, it highlights the goals you hope to achieve if you get hired. Since it doesn’t emphasize the applicant’s work history, it’s best suited for:
- Recent graduates
- Job seekers interested in changing careers
- Individuals who have no work experience
In recent years, resume objective statements have fallen out of favor; rightly so.
These statements tend to be vague and full of cliche words that don’t add value to your resume. Here’s an example: “Ambitious, quick learner who graduated recently with a degree in ABC, seeking opportunities in the X sector.”
For these reasons, you’re better off using a resume summary. If you don’t have any strengths or skills you can highlight in this section, then you can omit them altogether.
Step 6: Add Your Work History
If there’s one thing you should get right when learning how to write a resume, it’s the work history section. This is where you really market your professional qualifications
The norm is to list your previous jobs in reverse chronological order. Simply put, start by highlighting your latest or most recent job and work backwards. Here’s how to structure this section:
- The job title you held – this is the first thing that should appear in the employment history section. It should also be bolded or have a slightly larger font.
- Name of the company – the second line should contain the name of your previous company as well as the city and state of the company’s location.
- Duration of employment in the form of dates – it’s also important to state the specific timeframe when you worked for that firm. You can write the month and year, or simply the year.
- Main responsibilities – don’t state all the things you did in your previous job. Rather, focus on those relevant to the desired job you’re applying for.
- Your biggest achievements – a potential employer is not only interested in your job titles. They’d also like to know how well you performed your previous roles. So ensure you list your core achievements in 3 to 5 bullet points.
To put things into perspective, here’s an example:
Human Resource Assistant
Manpower LLC – Cleveland, OH
- Oversaw 4 heads of departments with a total of 200+ employees
- Monitored payroll budgets for over 100 employees
- Created training programs that improved the company’s retention rate to 75%
The work history section gives the recruiting manager an insight into what you’re capable of achieving.
Unfortunately, this is one area where many job seekers don’t make the most of. The majority make the mistake of writing this section simply as a list of job duties.
Examples include, “Kept track of financial records” or “Monitored the daily inventory”. Although these statements illustrate the tasks you undertook, they’re not impactful.
Instead of using such generic statements, quantify your achievements whenever possible. Research has shown that job seekers who use statistics in their resumes get a 40% boost over other candidates.
Even if you’re applying for a teaching job, you can find brilliant ways to quantify your work history. For instance, a history teacher can write, “50% of the junior class saw a 25% increase in their end-of-year test scores.”
Another one of the most highly recommended resume writing tips is to use powerful action verbs. Thinks of words like:
Accelerated Revitalized
Campaigned Coordinated
Secured Resolved
Overhauled Negotiated
Initiated
How much work experience should you include?
One question that lingers in the minds of many job seekers is, “Just how much work experience should I include?”
A good resume is one where the applicant’s work history dates back 10 to 15 years. In fact, if you have years of experience under your belt, then you shouldn’t worry too much about the length of your cover letter.
Don’t try to crowd all your experience into one page if it can’t fit. Here’s a guide on how to highlight your work history:
- Senior-level candidates – if you’re a manager or senior executive in your company, feel free to list up to 15 years of your work history. Just make sure that it’s relevant work experience.
- Mid-level job seekers – in this case, you’ll want to provide a detailed account of relevant positions, then briefly mention any other positions you held.
- Entry-level job seekers – note down any paid tasks you’ve done, particularly those that show your application of soft and hard skills.
- First-time job seekers – the resume writing process can feel intimidating for applicants with zero work experience. The trick is to get creative. You may not have any job titles yet, but you probably held a few positions or did volunteer work back in college. List those roles and work in this section.
Step 7: Add a Skills Section
The next step in your resume writing process is to add a skills section.
For easy readability, consider listing these skills using bullet points. Question is, just what kind of skills should you include in this section?
To answer this question, you’ll want to do more research not only about the job opening but also the company’s history and work culture.
When it comes to the job ad, read the job description carefully while paying special attention to the skills highlighted in different sections. List them all down, then choose the most relevant skills.
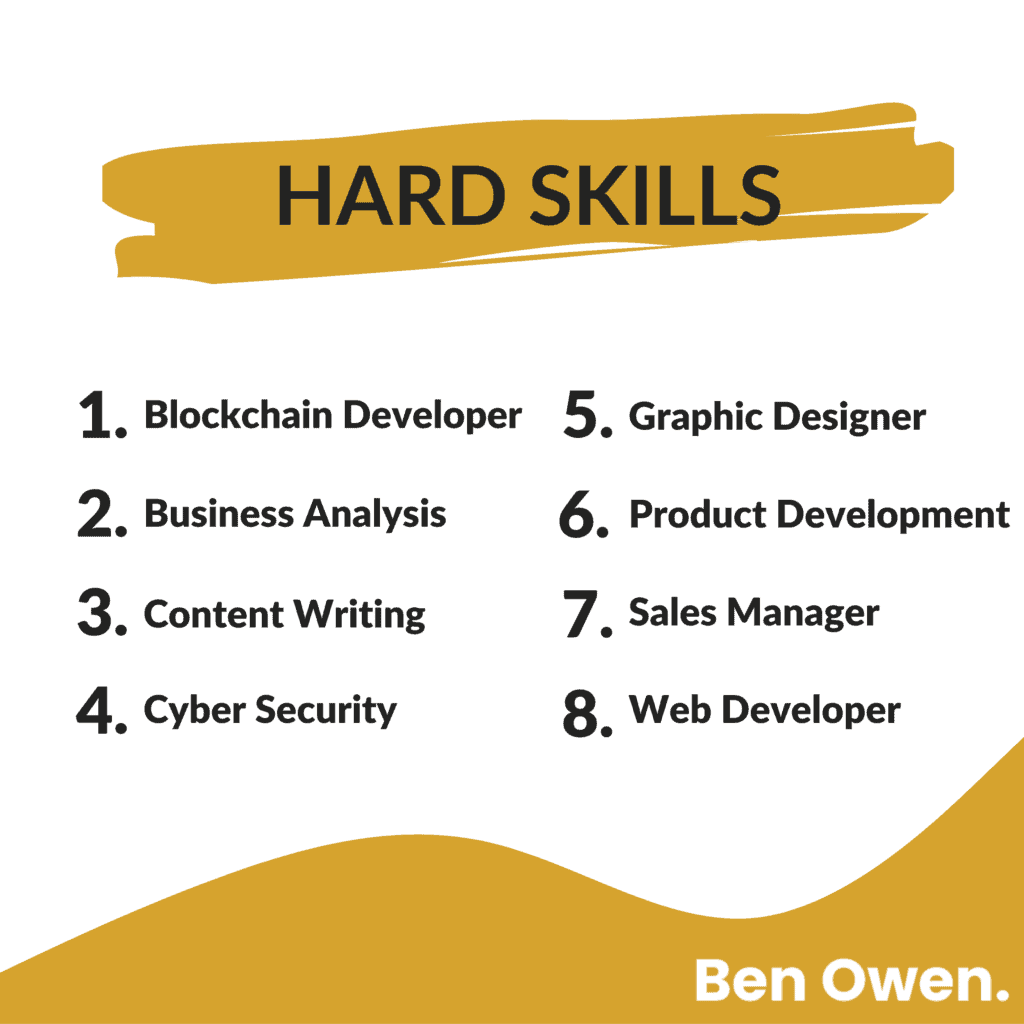
Top skills to include in a resume in 2023
Generally, skills are classified into two main categories: soft skills and hard skills. Hard skills are those that can be taught and quantified. Examples include Microsoft Excel, data visualization, Spanish, SQL, accounting, machine learning and more.
Conversely, soft skills aren’t teachable. Rather, they’re interpersonal skills that show how well you work and interact with others. Examples include problem-solving, time management, stress management, teamwork, communication and more.
So which of these skills should you include when applying for your preferred job? Here is a list of highly sought-after skills:

Ultimately though, the skills you choose should be relevant to your industry.
For instance, if you work in the marketing department, you’d list hard skills such as WordPress, social media marketing or lead generation. Similarly, a job applicant working in the IT department would list data science, cybersecurity, and AI.
Still feeling a little intimidated when crafting this section? The following tips should ease your concerns:
- Avoid listing too many skills – Even though you have a wide range of skills, resist the temptation to list them all. Instead, stick to the most important ones that relate to the job you’re seeking.
Highlighting too many skills can lengthen your resume; hence, discouraging the hiring manager from reading. Fun fact: the ideal length of a resume should be no more than two pages.
- Don’t provide false information – before you add a skill to your resume, ask yourself, “Can I answer in-depth questions about this skill?” If you can’t, then you’re better off omitting that skill.
- Don’t underrate yourself either – although it’s wrong to exaggerate and oversell your skills, you also shouldn’t undersell them. The hiring manager won’t know that you have any technical skills unless you mention them.
- Avoid cliche words – Are you a highly motivated or self-driven individual? So is every other job seeker. These words are not only cliche but they also don’t add any value to your resume. So scrap them out and look for more meaningful skills.
- Avoid common skills – Don’t list skills that are common knowledge. For instance, avoid listing web searching, and Microsoft Word. Anyone applying for a job in 2023 is well-acquainted with such tasks.
Step 8: Add the Resume Education Section
For most job seekers, the education section is the easiest part of the resume. Nonetheless, this doesn’t mean that you should rush through it.
As is the case with employment history, you should use a reverse chronological order when writing this section. This is the right way to format it:
- Your latest degree (even if it’s still in progress)
- The name of the institution
- Location of the school
- Timeframe of attendance and your graduation date (you can also write the date you expect to graduate)
- Your GPA (but only if it’s higher than 3.5)
- Academic achievements, such as honors, relevant coursework or if you were part of the dean’s list
- Extracurricular activities relevant to the job application – this includes study-abroad opportunities or accolades
Where should the education section go?
One thing that applicants struggle with is figuring out whether the education section comes before or after the work history. Well, the truth is that both formats are acceptable. So this comes down to your highest level of education.
If you’re a recent graduate or haven’t completed your studies yet, there’s a good chance that you have very little work experience. For such cases, listing the education section above your employment history is a good move.
This is also the best format to use when writing an academic cover letter. When applying to academic posts and fellowships, the recruitment manager will be more interested in your education than your experience.
However, if you have at least one year of work experience (or more), then this is the first section to add with the education section coming right after.
Listing high school education in a resume
It’s one thing to lack experience as a recent graduate. But, it’s an entirely different thing when your highest level of education is high school.
How do you even format it in the resume? This is how you should list your high school education:
Smallville High School, Smallville, KS
Attended school from 2019 to 2021
Simply indicate the name of the school and the timeframe of attendance.
If you have not completed high school, this is how you should list it:
Smallville High School, Smallville, KS
Expected date of graduation, December 2009
Should you add unfinished college education?
Some job seekers assume that the fact that they didn’t complete their college education doesn’t matter.
On the contrary, it matters a lot. The little bit that you did should be included in your cover letter, especially if its coursework is related to the job you’re applying for. Here’s how:
Emporia State University, Emporia, KS
2018 – 2020 Completed 50 credits toward BA in Philosophy
Smallville High School, Smallville, KS
Graduated in 2017
And if it’s in progress, this is how you should write it:
BA in Finance and Accounting in Progress
Brigham Young University, Provo, UT
For degrees that are still in progress, you can use any one of these phrases:
- Anticipated + date
- To be completed + date
- In progress
- Expected graduation
Step 9: Include Relevant Certifications & Licenses
Getting a certification is one of the best ways to illustrate your passion and devotion. It’s undeniable proof that you have the expertise required for the position you’re applying to. Here are a couple more benefits that come with being certified:
- Highlights your knowledge of the industry – some certifications require individuals to have worked for a specific number of years. As such, including these certifications automatically proves that you have a certain amount of experience.
- Compensates for little work experience – a certification also helps you to make up for minimal work experience. It shows that even if you’ve not secured a job yet, you’ve had ample practice and training in a specific area.
- Sets you apart from other job seekers – getting certified often requires an investment of time and money. As such, not every job applicant goes the extra mile of earning a certification. This then sets you apart from others.
How to write certifications & licenses in a resume
Now that you know the perks of having certifications, here’s a brief breakdown of how they should be written in resumes:
- Title of the certification or license – start with its full name. Don’t make any typos as the hiring manager may decide to verify it online. On the same point, ensure you spell out any abbreviations.
- Name of the issuing body or organization – to truly show the legitimacy of your certification or license, include the name of the certifying body.
- Add the date of earning the certification/ license – state the specific time that you earned or renewed the certificate. If you’re in the middle of getting the certificate, then list the obtainment date instead.
- Add the expiration date – if it’s a certification or license that expires, be sure to include the expiration date as well. Obviously, you shouldn’t include any that are expired.
- If you gained skills relevant to the job, you can also list them
Where to include certifications in a resume
A certification is a pretty versatile element of a resume. And as such, it can be included in multiple areas. The placement depends partly on how important and relevant it is to the job you’re applying for.
For instance, if you’re a Certified Public Accountant applying to a senior accounting position, you can include it in your job title. This ensures that it grabs the hiring manager’s attention instantly. Here’s an illustration:
Ryan Mathews, CPA,
Senior Accounting Assistant
If you don’t want the certification to stand out or if you have multiple certifications, the best way to format is to have a dedicated “Certifications” area.
Preferably, write this section once you’ve covered all the other essential parts. You can then create a heading called “Certificates” or “Certifications”. If you’re listing several, use the chronological order where you start with the most recent. Here’s an example:
Certifications & Licenses
First Aid Certification
American Red Cross, March 2021
Expires: December 2024
Skills acquired: First Aid, Advanced Life Support
Registered Nurse – License #123456
Ohio Board of Nursing
Expires: 2023
Step 10: Add Optional Resume Sections and Proofread
If you have enough space, don’t be afraid to add other sections. This is particularly important if these extra elements add valuable information. So what are some of these elements that make a good resume outstanding? They include publications, volunteer work, awards and honors.
Have you ever received awards that accentuate your professional experience? Or perhaps you won an academic honor for having a very impressive academic career. Whatever it is, adding it to your resume could prove valuable…
When you finish writing your resume, proofread it and correct any typos and grammatical errors. Statistics show that a whopping 58% of resumes usually have errors in them. So don’t overlook this step. In fact, you should go through it several times and then have a friend proofread it too. They might spot something that you missed.
Extra Information
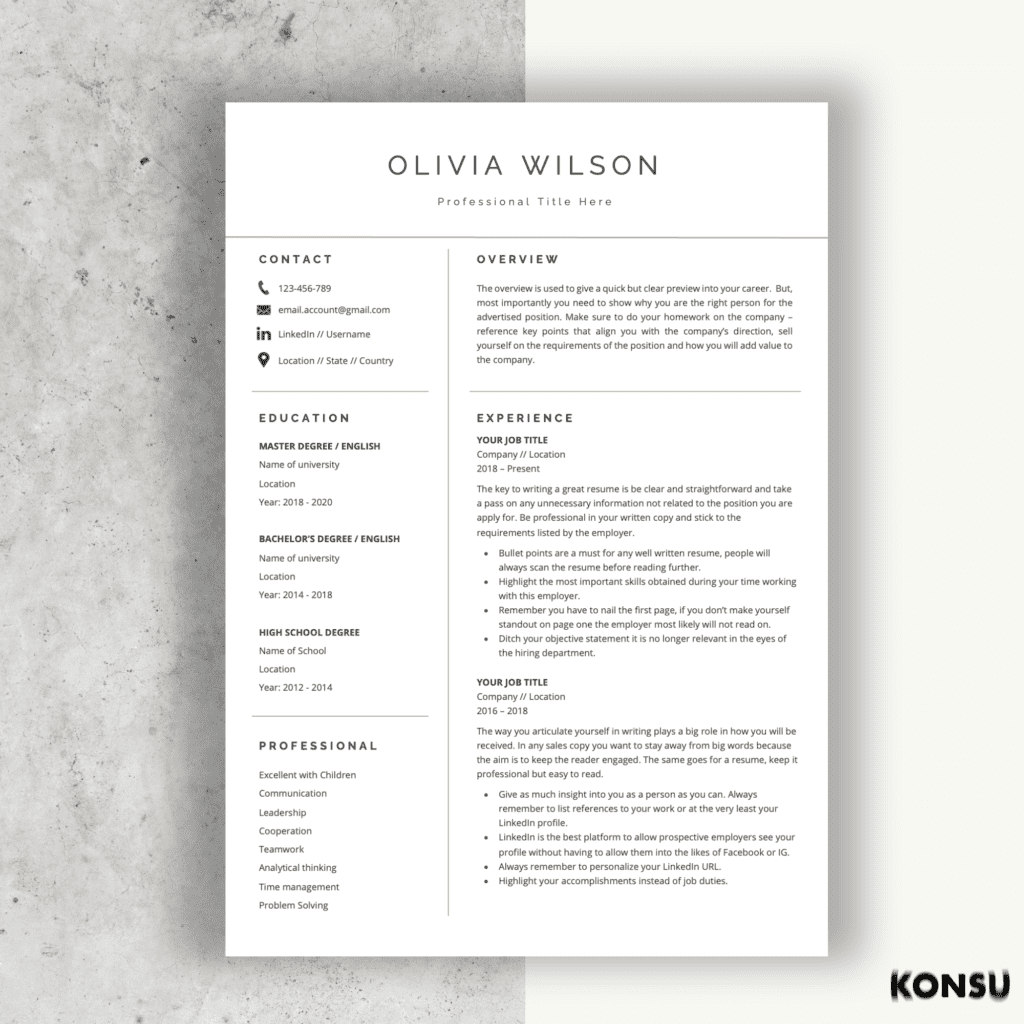
Resume Templates
Many people deliberate over using a resume builder, a resume template or to make a resume from scratch. In all honesty, there is no right or wrong way when it comes to creating a resume for oneself. What you do need to consider is do you have the skill set to create a professional resume. Is it worth your time to build it from the ground up? Or will you be better off using a resume builder or template?
For many people using a resume template is a happy medium. They are able to find a design that fits their requirements and manually fill out the details. One word of advice is you want to use a template that gives you full control to customize to your specific requirements. Maybe you want to add an extended job description or go more in-depth with your technical skills. Whichever it may be your resume template must have the capabilities to accommodate.

Get Your Resume Templates Here >>>
Cover Letters
A missive of introduction holds great value as it acts as a powerful tool to market oneself to a potential recruiter or hiring manager. A cover letter, if crafted with care, provides an opportunity for an applicant to manifest their zeal for the position they seek.
This can be a distinguishing factor that sets them apart from other candidates who failed to include one. A clear understanding of the cover letter’s significance in the recruitment process can help you better exhibit your abilities and consequently increase your chances of securing the position you desire.
This piece will highlight the rationale behind including a cover letter in your application, furnish you with useful tips to create an effective cover letter and furnish an exemplar to hone your craft.
Are Resume Writing Services Worth the Cost?
Yes, most definitely if you see the value in spending the money to have a professional resume writer craft your resume. If this is the route you wish to take I would advise you to look at, at least 3 different providers. Let’s say you are applying for a graphic design position and you choose a resume writer who formats resumes in a basic design format. It will not look good for your job prospects.
What do I Need to Put in my Resume?
When you make a resume you want to be sure all relevant skills are listed. Allowing hiring managers to get a clear synopsis of who you are as an employee. Always remember when you job search and apply for a position. It’s important to learn how to write a resume for the specific position you are applying for. It is a smart idea to have a templated base you can use and add information related to the position. Below I have listed more resume sections you can add to your resume for that important job application.
- Cover Letter
- Resume Headline
- Resume Summary
- Resume Summary Statement
- Previous Job Title
- Job Descriptions
- Bullet Point Job Descriptions
- Transferable Skills
- In-depth Skills Section
- Professional Summary
- Academic Achievements
- Professional Achievements
- Relevant Experience (To the advertised position)
- Links to Your Online Portfolio
Final Thoughts on How to Write a Resume
Learning how to write a resume is time-consuming but also worthwhile. A good resume highlights your biggest strengths, professional qualifications and educational background. It’s also organized neatly and is customized for every job. Hopefully, this guide simplifies the resume writing process for you and helps secure your dream job.